12/20/12 • HOLIDAY SPICE COOKIES
Adapted from the Dec., 2012 Food and Wine
It’s hard to know how to write about food—holiday food no less—after a week like the one we’ve just witnessed. “Unspeakably tragic” is the phrase I keep hearing in connection with the sickening events that unfolded in Newtown, Conn. last Friday, and while I can fully appreciate that response, “speak” is exactly what we all must do—about the need for gun control, for a better system of dealing with (and identifying) the needs of the mentally ill, not to mention the heartache and confusion an event like this can’t help but bring up in any thinking, feeling person. Still, this isn’t exactly the right forum for a diatribe against government inaction or the power of the NRA (not that I’m at all certain I have anything new to add to the conversation), so for now I’ll just stick with this holiday cookie recipe, in the hopes that making—and eating—them will somehow render everything a little less bleak. That’s a tall order for a little cookie, I realize (and one that’s obviously of no use to those directly affected by the tragedy), but for the rest of us who are simply trying to sort through the powerful and competing emotions brought on by the tragedy, nothing quiets the brain—and its various ancillary parts—quite like some grandmotherly goodness.
And grandmotherly is exactly the word I’d use to describe this week’s posting, though that may well have to do with the German origins of my own maternal grandmother (see last week’s goulash posting ), and with the fact that these spice cookies are a riff on the traditional German holiday treat known as “lebkuchen.” I don’t know that my grandmother actually made these for me (that distinction may have come from other German or Austrian adults I knew growing up, of which there were several), but the yin/yang quality of these sweet and spicy cookies is one I can’t help but credit my Nanna with introducing me to. As has been well covered in these pages, it’s a flavor profile I have a particular weakness for and one that has a lot to do with the powerful pull gingerbread has for me—another holiday favorite with more than a passing similarity (in both texture and flavor) to the spice cookies I bring you here.
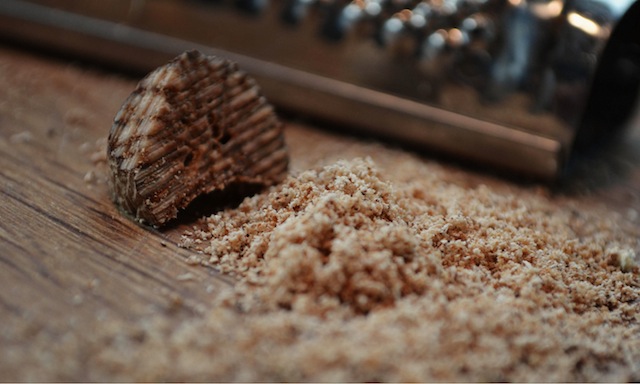
That similarity is due in large part to the two signature ingredients featured in both confections—candied (or crystallized) ginger, and molasses. Each is an ingredient I love, particularly when introduced to large quantities of sugar and flour and eggs, as is the case with these cookies. Of course, this being a spice cookie, there is also an array of other components called into play, specifically cinnamon, ground ginger, ground cloves, allspice, and freshly grated nutmeg, all of which coalesce to imbue the finished product with a fragrant, undeniably Christmas-y quality—sweet, to be sure, but never cloying or monotonous, the way (dare I say it) I find so many other holiday cookies to be.
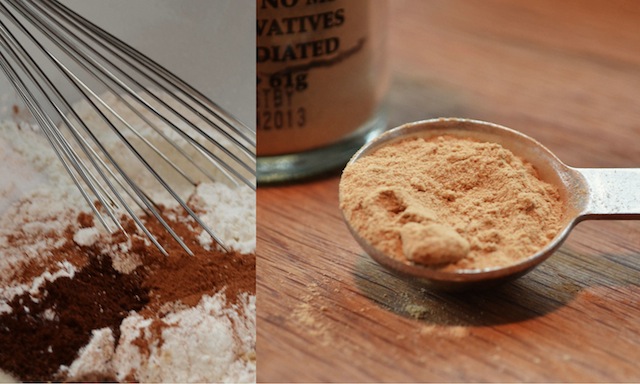
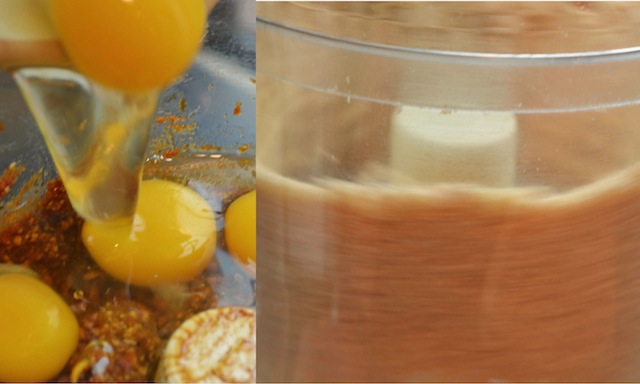
What’s more, this isn’t just some ordinary flour-based cookie, but rather one that begins with almonds, specifically a cup and a half of the blanched variety, toasted for ten minutes in a 350-degree oven, and once cool, coarsely chopped in a food processor. When you’re satisfied that the nuts are of a consistency that will provide some textural interest without calling attention to themselves (i.e. “Big almond chunk here!”) it’s time to introduce the various other ingredients—first the light brown sugar, followed by the finely chopped ginger, the molasses, and a ½ cup of sweet marmalade (these last three items all at once), pulsing the mixture after each addition until everything is well integrated. Next come the eggs (all five of them), another round of pulsing, and then the dry ingredients—previously whisked together and comprising the sifted flour, the baking powder, the salt, and all of those spices mentioned earlier. This too is pulsed with the other ingredients, a process that may make you worry you’re on the verge of burning out the motor on your food processor, since the mixture will now be very thick and heavy. (If you find things aren’t moving properly, shut off the motor and redistribute the contents of the bowl with a wooden spoon before starting up again—something I had to do several times before I was satisfied that everything was fully incorporated).
Up to this point, aside from the chopping of the ginger (a time-consuming process given the sticky nature of this ingredient), none of the above is particularly challenging. That changes once the batter is complete, since instead of proceeding directly to cookie-baking as you will no doubt want to do, the dough must be transferred to a bowl, covered with plastic wrap, and placed in the freezer for a minimum of four hours. Let me repeat that: A MINIMUM OF FOUR HOURS! Now perhaps this won’t prove the challenge for you that it did for me, but it bears emphasizing because it’s an important step—necessary even—since the gloppy, sticky nature of the batter is such that if placed in the oven before having had a chance to harden up sufficiently, the cookies will collapse into a pancake like shape, robbing them of their distinctive cake-like quality. Moreover, they will fail to bake properly, producing a cookie with a slightly raw, uncooked quality. In other words: Yuck!
I am, of course, speaking from experience here, having jumped the gun at the three-hour mark (we had friends over to decorate our Christmas tree, and I wanted to get some cookies on the table). My belief—or hope—was that trimming sixty minutes off the total freezing time couldn’t possibly make that much of a difference. I was wrong; it does. So after an initial misfire I placed the cookie dough back in the freezer for another hour, as directed. Lesson learned (and now shared).
The other directive worth paying attention to is the use of a 2-tablespoon ice cream scoop (the kind used for gelato) when scooping up the batter and transferring it to your cookie sheet. I’ve never owned a proper ice cream scoop, not even the standard size, and figured for this recipe I could make do with a regular old teaspoon. Wrong again. In addition to creating the properly mounded quality you need in order for the baked dough to retain its chewy, cake-like quality, the little clearing mechanism within the scoop helps to get the dough from scoop to sheet with a minimum of meddling—meddling which will also get in the way of your ability to form the proper shape. I came to this realization shortly after my misguided attempt to bake the cookies at the three hour mark, at which point the batter went in to the freezer, and I went to the store to buy an ice cream scoop!
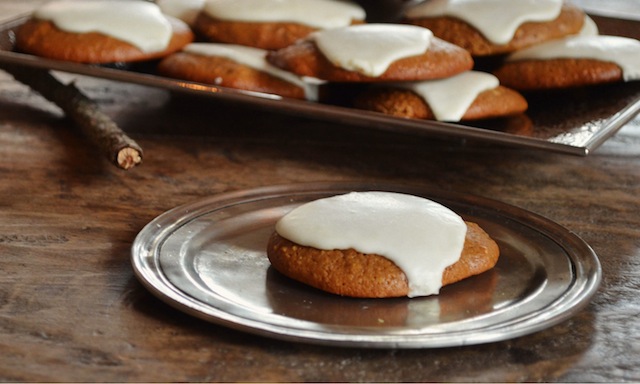
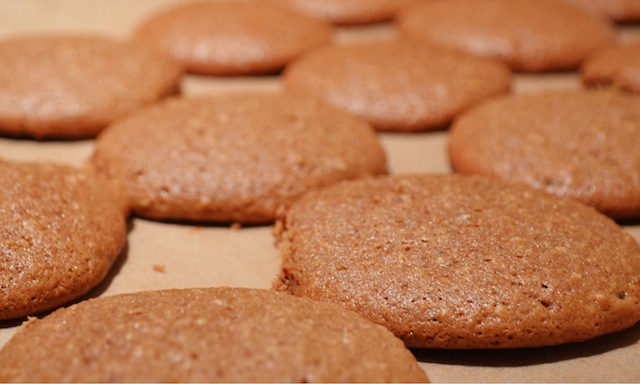
Once those four hours are up, however, the baking is fast enough—just 20 minutes in a 350-degree oven, with the cookie sheets rotated (top to bottom and front to back) halfway through the allotted time. You do want to keep any unused dough in the freezer between batches, and to allow the cookies and the trays time to cool before removing the one from the other, a task I was able to complete after twenty minutes or so (i.e. not completely cool, but cool enough). And generally, three rounds of baking, using two cookie sheets for each batch, will be sufficient to move through all of the batter. So yes, this cookie is a bit of a project, but the good news is that it’s one that doesn’t require constant monitoring or involvement by the chef. And the results are truly wonderful—crisp around the edges, moist and chewy on the inside, and overflowing with the sort of flavors that scream: “It’s Christmas!”
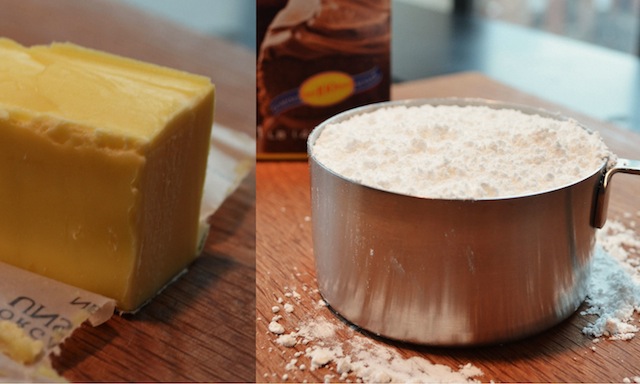
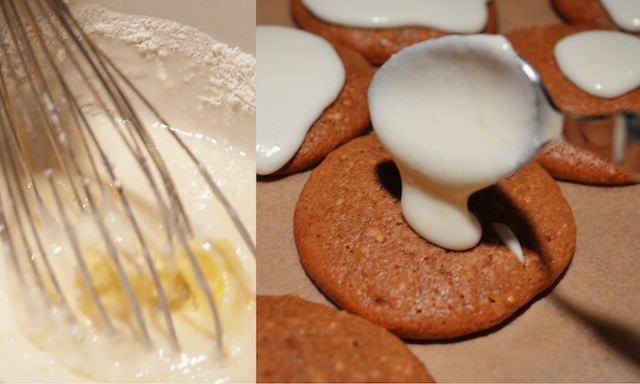
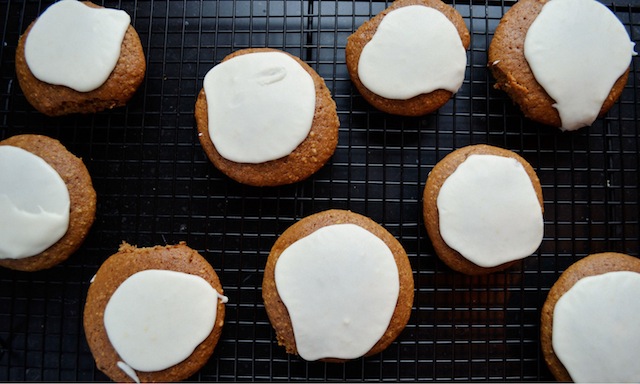
Plus there’s icing! (This part is easy, I promise). For this you simply whisk together a staggering (as in three cups plus two tablespoons) quantity of confectioner’s sugar, a small amount of milk, and three tablespoons of softened, unsalted butter until it’s creamy, then carefully apply two teaspoons or so to the top of each cookie, using the back of your spoon to smooth and spread. Of course, there’s nothing to stop you from layering the icing on a little thicker if you like (you’ll have more enough in your mixing bowl), just beware this stuff is toothache sweet, so a little goes a long way. That said you want to make sure it’s spread thick enough that the golden brown of the cookie cannot be seen through the white of the icing. And there’s one final waiting stage: 30 minutes or so for the icing to harden up (it can be eaten wet, but won’t be as good without that added crunch). All tolled, a lesson in delayed gratification, but one that’s well worth it.
And with that I wish you a fantastic holiday, and best wishes for 2013! I’ll see you all back here the week of Jan 7th.
Ingredients for the cookies:
—1½ cups blanched whole almonds
—2 cups all-purpose flour, sifted
—1¾ tsp baking powder
—2 tsp cinnamon
—1½ tsp ground ginger
—1 tsp ground cloves
—1 tsp ground allspice
—1 tsp fine salt (TRG note: I used standard table salt)
—Pinch freshly grated nutmeg
—1½ cups light brown sugar
—1/2 cup sweet orange marmalade
—1/4 cup finely chopped candied ginger (also known as crystallized ginger)
—1/4 cup unsulfured molasses (not blackstrap)
—5 large eggs
Ingredients for the icing:
—3 cups plus 2 tbs confectioners’ sugar
—1/4 cup whole milk
—3 tbs unsalted butter, softened
Special equipment:
—2 tbs ice-cream scoop (aka a gelato scoop)
Directions:
—Preheat the oven to 350˚. Spread the almonds on a rimmed baking sheet and toast for about 10 minutes, until fragrant and lightly golden. Let cool completely. (Oven can be shut off at this point, reheated prior to step #4.)
—In a medium bowl, whisk the flour with the baking powder, cinnamon, ground ginger, cloves, allspice, salt and nutmeg. Set aside.
—In a food processor, pulse the cooled almonds until coarsely chopped. Add the brown sugar and pulse until incorporated. Add the marmalade, candied ginger, and molasses and pulse until the mixture is well blended and the nuts are finely chopped. Add the eggs all at once and pulse until just incorporated. Add the dry ingredients and pulse until incorporated and the batter is uniform in color. Scrape the batter into a bowl, cover, and place in freezer until very firm, at least 4 hours.
—Preheat the oven to 350˚. Line 2 large baking sheets with parchment paper. Using a 2 tbs ice cream scoop, scoop 8 level mounds on to each baking sheet, about 3 inches apart. Freeze the remaining batter between batches. Bake the cookies in the upper and lower thirds of the oven for about 20 minutes, until risen and slightly firm; shift the pans from top to bottom and front to back halfway through. Transfer the sheets to racks and let the cookies and pans cool completely before removing and placing on another pan to await icing. Repeat with the remaining batter.
—While the final batch of cookies is cooling, in a bowl whisk the confectioners’ sugar with the milk and butter. Ice each cookie with several tsp of icing, using the back of the spoon to spread the icing, and let dry completely before serving or wrapping.
Note: The cookies can be stored between sheets of wax paper in an airtight container for up to 5 days.
Makes about 3 dozen cookies


