
03/29/13 • CREAM SCONES
From the April/May, 2013 Fine Cooking
Ninety-nine postings ago—back when I first started this blog to be precise—I’d often define my vision for the site by jokingly telling friends the one thing it would never include: a scone recipe. (I know; hilarious.) At the time I genuinely felt like scones were overplayed in the U.S. (I still do, actually), which wouldn’t have mattered much except for the fact that I never found them to be particularly pleasant or satisfying either. Maybe I was missing the good butter or clotted cream that traditionally shows up beside them at tea-time in England, or maybe the various examples I’d sampled in recent years were simply poor American imitations of the Scottish standard, but scones always struck me as, well, kind of dry and heavy. In other words, there was a reason they rhymed with stone. All of which makes it a little surprising that in flipping through the April/May issue of Fine Cooking it would be a scone recipe I’d zero in on—and not just zero in on, but keep circling, and returning to. Almost immediately it was a recipe I wanted to try. But I also knew I couldn’t… because I’d already said I never would! And then finally I gave in and decided to eat my words. I’m glad I did.
What I realized as I studied the recipe and the accompanying photos (and by the way, it was definitely not the photos that enticed me; I may be a fan of the occasional recipe in Fine Cooking, but their pictures rarely inspire me to take action) was that I hadn’t always felt this way about scones. In fact, many years ago, while visiting Edinburgh, I had one of those food/travel experiences that stay with you forever and change the way you feel about a particular item—in this case, establishing a scone standard that no subsequent experience ever equaled. And so I kept the memory intact by staying away from the disappointing examples that are now a staple of virtually every American coffee bar (a concept that didn’t even exist when I had my big scone moment in Scotland—which should give you an idea of how long ago it was).

But as I read through the recipe and the brief piece of writing that ran alongside it, I was reminded that dry and heavy are not necessarily qualities that need to be associated with scones. (Certainly, they hadn’t been part of my Edinburgh experience.) In fact, one of the things that jumped out at me about this recipe was the writer’s strategy (or strategies; there are several) for ensuring a light, flaky, buttery result—the intersection between cake and piecrust, as she puts it.)
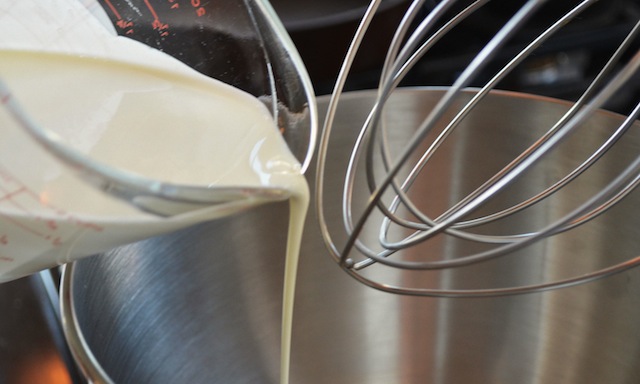
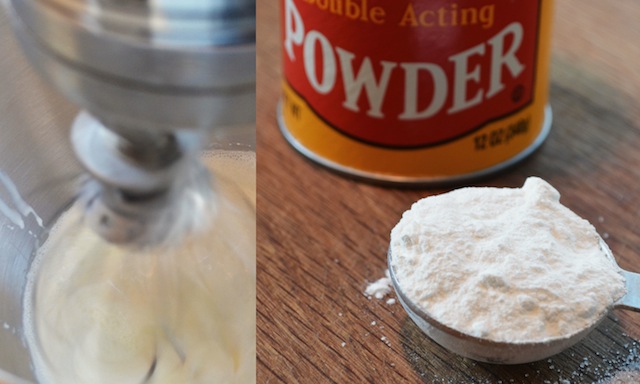
The first and most critical of these has to do with the heavy cream that’s a standard ingredient in most scone recipes. Here, that cream is whipped into soft peaks prior to being folded into a mixture of the dry ingredients and the butter, a trick that ensures the finished product will be flaky and soft. What’s more, by chilling the mixing bowl and the beaters for 15 minutes or so prior to mixing, the cream is able to stay chilled during whipping, thereby allowing the maximum amount of air to be trapped.
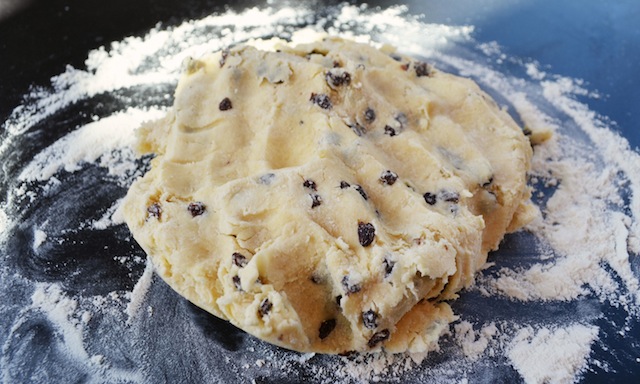
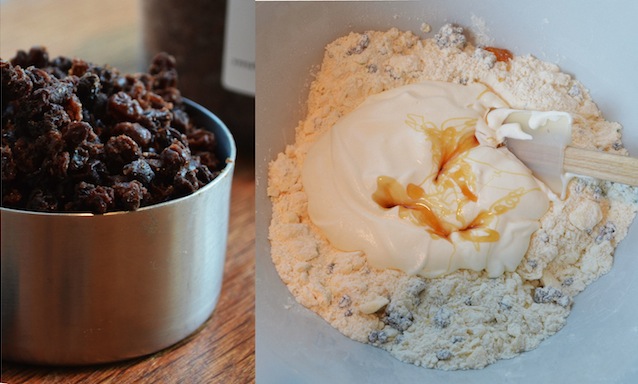
Those two steps alone are probably enough to ensure a better scone than most you’ll find at your local coffee bar, but the tips don’t end there. Of these additional suggestions, some may seem self-evident to anyone who has done some baking (don’t overwork the dough when kneading; use a sharp knife when slicing the uncooked dough), though others were ones that would never have occurred to me. To this last group I include suggestions like using a mixture of honey and sugar (needed to achieve the proper balance between lightness and color—the sugar being lighter than the honey, the honey delivering the all-important golden hue to the cooked dough), and wrapping the just-out-of-the-oven scones in a clean tea towel to trap the steam (which makes them that much more tender). In total, all of these suggestions combine to produce something that is remarkably soft and flaky—still with that signature buttery, floury flavor, but with none of that stick-in-the-back-of-your throat quality that’s so often a part of the scone-eating experience.
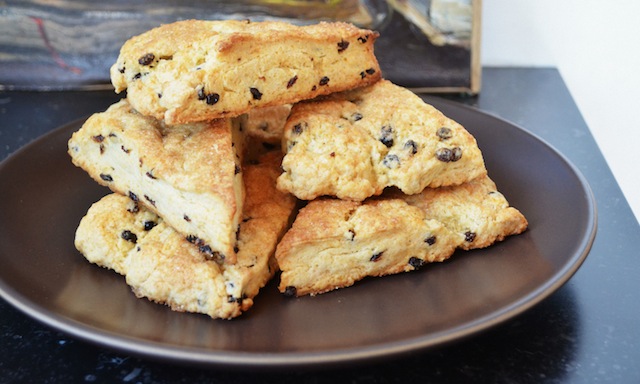
Add a handful of currants as I did here (instructions for this and a few other flavor variations are included below) and I’m willing to bet that whatever your present feelings may be about scones, they’ll grow that much stronger after giving these a try. For myself, all I can say is I’m through with sweeping food pronouncements.
Ingredients:
—1 cup plus 2 tsp chilled heavy cream
—2 1/3 cups unbleached all-purpose flour; more as needed
—3 tbs granulated sugar
—1 tbs baking powder (preferably aluminum-free)
—3/8 tsp fine sea salt or table salt
—10 tbs chilled unsalted butter, cut into ½-inch cubes
—1 tbs plus 1 tsp honey
—1 tbs turbinao sugar (such as Sugar in the Raw) or granulated sugar
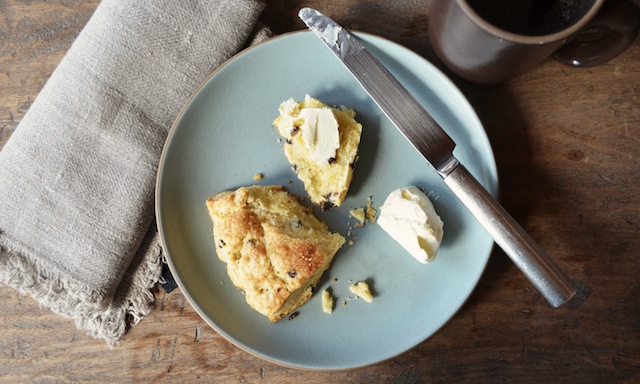
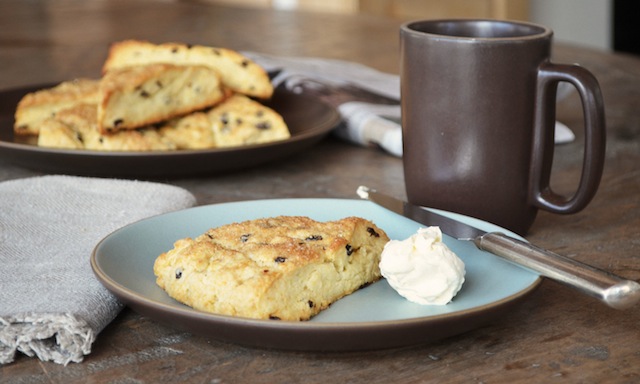
—Butter, clotted cream, and jam (optional, for serving)
Note: See “variations” below, for optional flavoring ingredients.
Directions:
—Chill a medium metal mixing bowl and the beaters of an electric hand mixer (or the bowl and whisk attachment of a stand mixer) in the refrigerator for at least 15 minutes. (Note: beating the cream in a chilled bowl with chilled mixers help to keep the cream cold so it can trap the maximum amount of air as it’s whipped.)
—Position a rack in the lower third of the oven and heat the oven to 400˚. Line a large rimmed baking sheet with parchment paper.
—Beat 1 cup of the cream in the chilled bowl on medium-high speed just until soft peaks form, 1½ to 2½ minutes; refrigerate while you mix the other ingredients.
—In a large bowl, whisk together the flour, granulated sugar, baking powder, and salt. Add the butter and toss with your fingers to coat. Press the butter between your fingers to form very thin flakes, tossing them back in the flour mixture between passes until all of the butter is pressed into dime-size flakes.
—Make a well in the center of the mixture and add the whipped cream and honey. Use a silicone spatula to fold the ingredients together until incorporated.
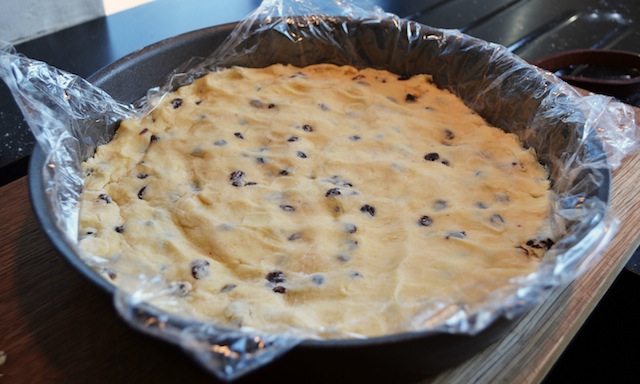
—Lightly knead the dough in the bowl just until it holds together. Turn it onto a lightly floured counter. Gently knead it a few more times, then transfer it to a 9-inch cake pan lined with plastic wrap and pat it into a flat disk (or shape it by hand on a cutting board into a 9x¾-inch disk). Cover with plastic wrap and refrigerate for 10 minutes.
—If the dough was shaped in a cake pan, invert it onto a cutting board. Remove the plastic.
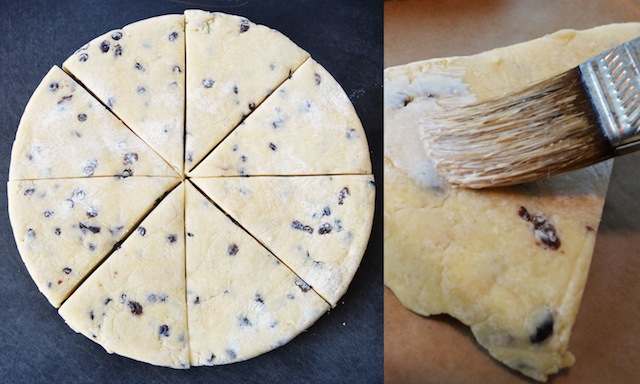
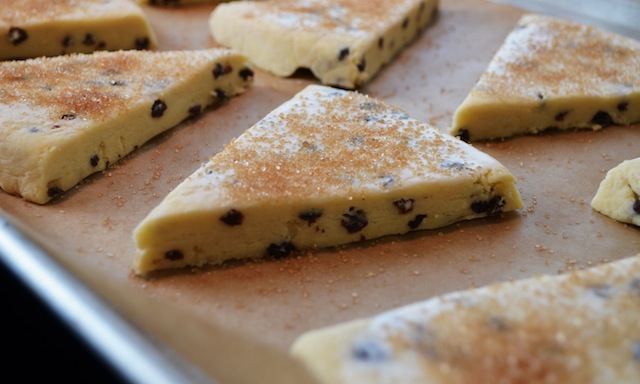
—With a sharp knife (note: a dull knife will seal the edges and inhibit rising), cut the dough into 8 even wedges. Arrange the wedges 2 inches apart on the baking sheet. Brush the scones with the remaining 2 tsp cream and sprinkle with the turbinado sugar.
—Bake the scones until lightly browned on top, 15 to 20 minutes.
—Spread an unscented, lint-free linen or cotton towel on a large wire rack and put the baked scones on top. Fold the towel over loosely and allow the scones to cool until warm or at room temperature before serving. (Note: wrapping the scones traps the steam, which keeps them soft.)
Note: The scones can be stored in an air-tight container at room temperature for 2 days or frozen for 3 months. Reheat room-temperature scones in a 350˚ oven for 10 minutes. Reheat frozen scones in a 300˚ for 20 minutes. The scones are ready to serve when the outside is crunchy and a wire cake tester inserted in the center feels warm.
Variations:
To make flavored scones, mix any of the following in with the dry ingredients.
—For currant scones, add ½ cup dried currants.
—For cranberry-orange scones, add ¾ cup dried cranberries and 1 tbs finely grated orange zest.
—For lemon-poppy scones, add 1½ tbs poppy seeds and 1 tbs finely grated lemon zest.
—For ginger scones, add 1 tsp powdered ginger, 1 tsp finely grated lemon zest, and 2/3 cup candied ginger cut into 1/8- to ¼-inch pieces.
Makes 8 scones