02/28/13 • EASY RYE BREAD
Adapted from My Bread: The Revolutionary no-work, no-knead Method by Jim Lahey
Many years ago I made the silly decision to swear off bread. I’d like to say this had something to do with an effort at eating more healthfully, but the truth is it was driven by the simple desire to firm up my stomach—a goal I understood to be attainable if I laid off foods made from flour (and if I did a lot of crunches). And so for much of my late 20s I resolutely said no to baguettes and bagels, to pasta and pretzels, all in an attempt to transform my midsection into that totem of male vanity: the six-pack. Gradually, though, it began to dawn on me that not only was I refusing many of the things that make life worth living, but my body hadn’t really changed that much (if it had at all). Which in a way was a good thing, because once I realized I was never going to look like David Beckham in my underwear, I was suddenly free to welcome carbs back into my life—a realization I was grateful to have embraced as I sampled the rye bread presented here. It’s a surprisingly easy recipe, one of many to be found in Jim Lahey’s bread-making cookbook, My Bread, and, more importantly, one that produces a loaf as good as any bakery’s. In other words, if ever there was an occasion to celebrate the glory of gluten, this is it.
I say “surprisingly easy” because I’d always operated under the assumption that bread making requires a variety of special skills, not to mention equipment. Disproving that idea was clearly one of Lahey’s goals in writing the book—this despite the fact that he’s the force behind one of New York City’s best-loved bread resources, The Sullivan Street Bakery. (Then again, what more potent symbol of generosity is there than a shared loaf of bread?) So instead of some complex kneading technique or fancy bread machine, Lahey reveals that a few very basic ingredients (namely flour, water, salt, and yeast), a simple pot with a lid, and plenty of time are all that’s required to produce an exceptional loaf of bread. These are the basic components of all the bread recipes featured in the book, though with some minor variations (such as the rye flour used here) depending on the type of bread you’re making.
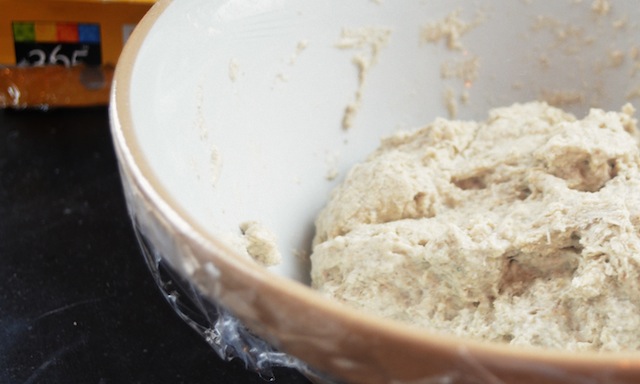
Of these standard ingredients that last one—time—is worth underscoring, because while there’s little actual work involved in any of the recipes beyond some minimal measuring and mixing, the trade off is an acceptance that the process can’t be rushed. This means allowing the dough between 12 and 18 hours for the first rise (and if the weather is very cold, as much as 24 hours), and another one to two hours for the second. At each of these stages you’ll see the dough increase in size and, during the first round, take on a noticeably different appearance as well, changes that with traditional bread-making recipes would only be achieved through lots of elbow grease. What’s more, as I discovered during the assembly process, it doesn’t require placing the dough in the oven to experience that wonderful smell associated with freshly baked bread, but rather simply adding a little yeast to the flour mixture. With just a half-teaspoon sprinkled into my mixing bowl the entire kitchen took on the warm, seductive fragrance of a bakery—a discovery that effectively rewrites one key myth of bread making.
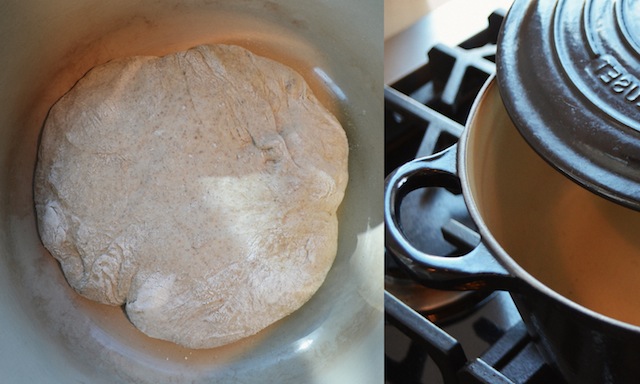
The other nifty innovation here is baking the dough in a large, dry pot (covered for the first 30 minutes, uncovered for the remaining 15 to 30 minutes), placed in a very hot oven. That covered pot functions in the same way a classic brick domed oven does, which is to say that the steam escaping from the dough during the baking process is trapped within the pot’s enclosure to ensure a chewy crust and a moist crumb—a kind of oven within an oven. Little surprise then that the recipe directs you to preheat both the oven and the pot for a half hour before introducing the dough. Easy enough, though just as oven readings may vary, so too can the amount of time required to reach a desired temperature (for instance, mine takes more like 50 minutes to reach 475˚), so be prepared to adjust your timing accordingly.
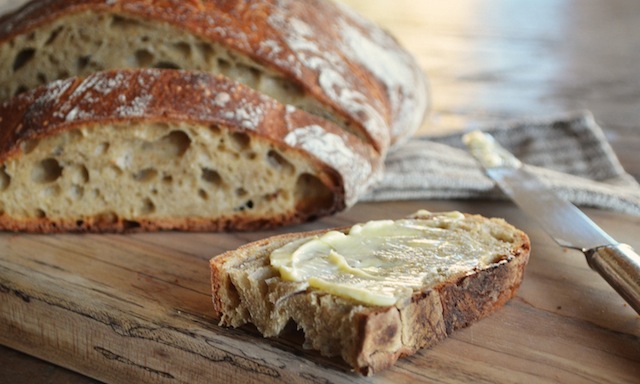
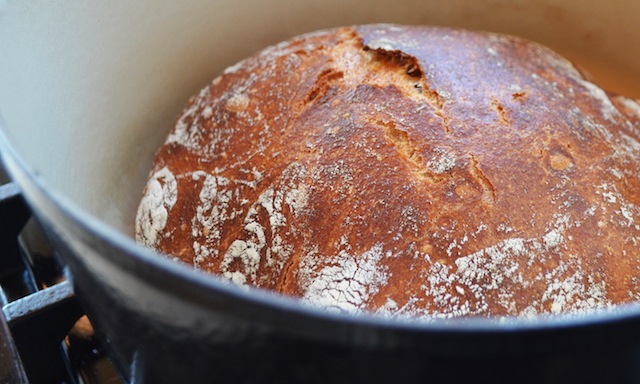
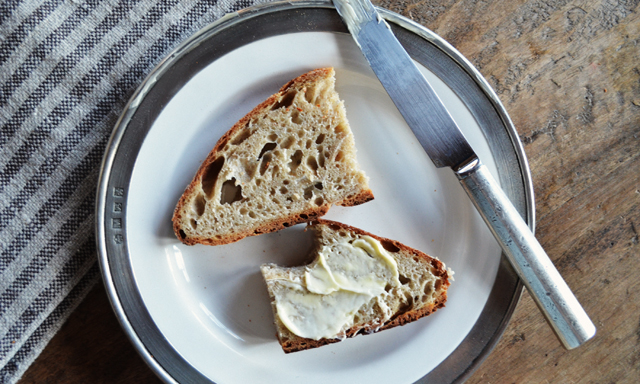
Of course, none of these simplifications would mean anything if they didn’t ultimately produce the crunch, chew, and deep, yeasty flavor associated with a well-made loaf of bread—all qualities this recipe can be counted on to deliver. But before I even sliced into the bread it was the beautiful chestnut color of the perfectly domed exterior that thrilled me, providing one of those I-can’t-believe-I-made-this! moments that are the blue-ribbon for any home chef. Add to this the nutty dark interior and sourdough-like tang resulting from the rye flour and you have something truly special indeed. I made the bread on a brisk winter weekend and based on how warm I felt as I bit into that first (and second, and third) slice, I’m tempted to say that this is a recipe to be reserved for your cold weather arsenal. The truth is, though, that a bread this good (and this easy) should be enjoyed anytime… the sooner the better.
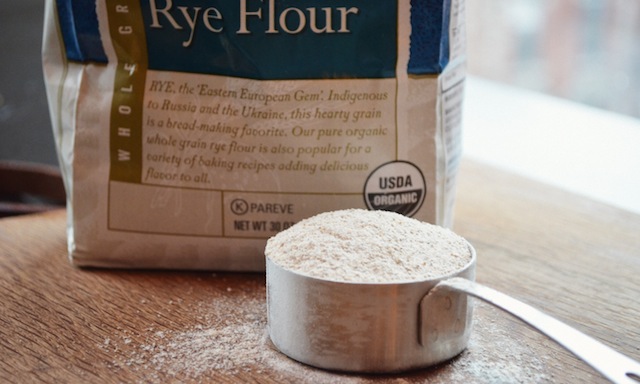
One final note on the ingredients: Although I had little difficulty finding either the bread- or rye flour called for here, both items are widely available online. Should you come up empty at your local market, you can try here or here.
Ingredients:
—2¼ cups bread flour
—3/4 cups rye flour (plus more for dusting)
—1¼ tsp table salt
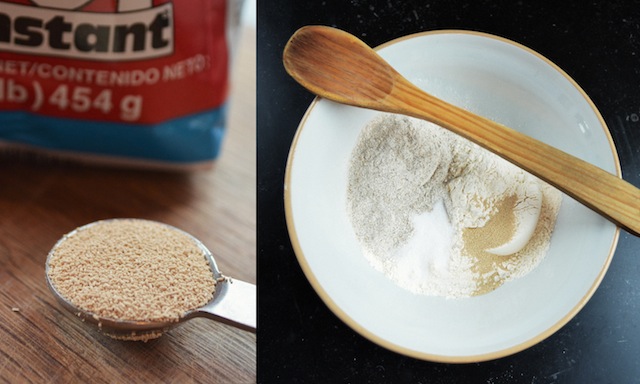
—1/2 tsp instant or other active dry yeast
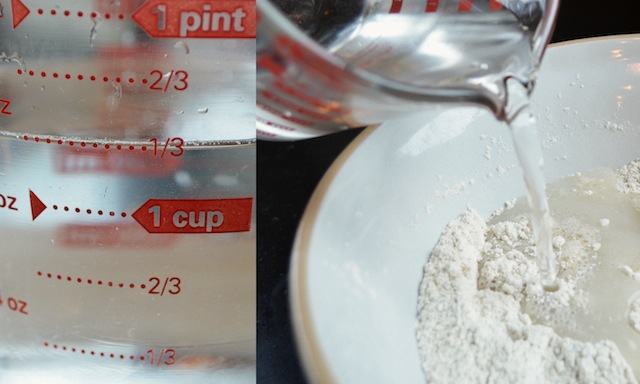
—1 1/3 cups cool water (55 to 65˚)
Special equipment:
—A 4½- to 5½-quart heavy pot
Directions:
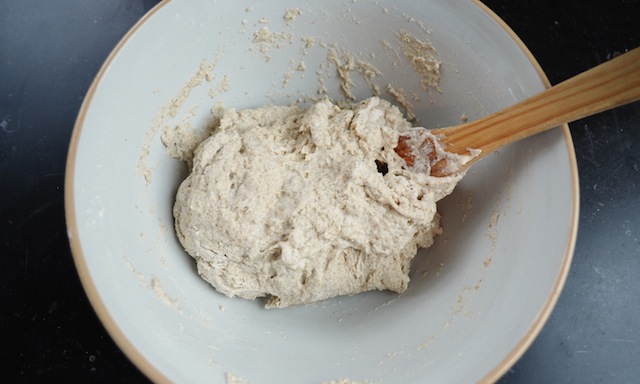
—In a medium bowl, stir together the flours, salt, and yeast. Add the water and, using a wooden spoon or your hand, mix until you have a wet, sticky dough, about 30 seconds. Cover the bowl with plastic wrap and let sit at room temperature until the surface is dotted with bubbles and the dough is more than doubled in size, 12 to 18 hours. (Note: When the weather is very cold a longer period may be necessary for the dough to double in size and for the bubbles to appear—as much as 24 hours).
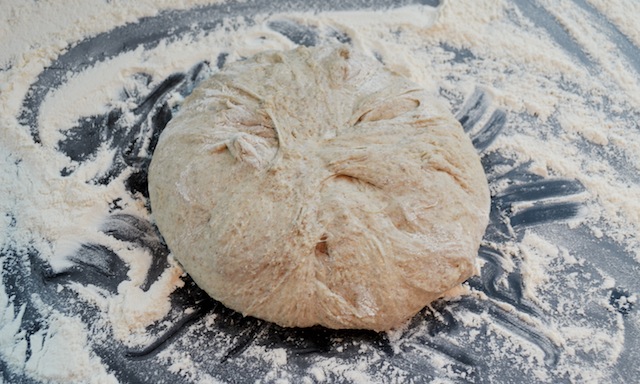
—When the first rise is complete, generously dust a work surface with flour. Use a bowl scraper or rubber spatula to scrape the dough out of the bowl in one piece. Using lightly floured hands or a bowl scraper or spatula, lift the edges of the dough in toward the center. Nudge and tuck in the edges of the dough to make it round.
—Place a tea towel on your work surface and generously dust it with rye flour. Gently place the dough on the towel, seam side down. If the dough is tacky, dust the top lightly with rye flour. Fold the ends of the tea towel loosely over the dough to cover it and place it in a warm, draft-free spot to rise for 1 to 2 hours. The dough is ready when it is almost doubled. (If you gently poke it with your finger, it should hold the impression; if it springs back, let it rise for another 15 minutes.)
—Half an hour before the end of the second rise, preheat the oven to 475˚, with a rack in the lower third of the oven, and place a covered 4½- to 5½-quart heavy pot in the center of the rack.
—Using potholders, carefully remove the preheated pot from the oven and uncover it. Unfold the tea towel and quickly, but gently, invert the dough into the pot, seam side up. (Use caution—the pot will be very hot.) Cover the pot, return to the oven, and bake for 30 minutes.
—Remove the lid and continue baking until the bread is a deep chestnut color but not burnt, 15 to 30 minutes more. Use a heatproof spatula or potholders to carefully lift the bread out of the pot and place it on a rack to cool thoroughly (about 1 hour).
Note: The bread is best if eaten within 2 or 3 days of baking, and kept at room temperature, wrapped in wax or butcher paper, or in a paper bag (i.e. not plastic, which toughens bread and makes it rubbery).
Makes one 10-inch round loaf


