
03/22/12 • BEST BROWN BREAD
From the March, 2012 Saveur (click here to view the recipe)
I had to try it. There are times when I’ll be casually flipping through a cookbook or a cooking magazine and land on an image, or a recipe, or even a headline, and something about the item in question will grab hold of me in such a way that it becomes the thing I must make, and eat, as soon as possible. Such was the case with this recipe for brown bread, which I pulled out of the March issue of Saveur. My reaction was immediate — a near instantaneous shift from passively turning pages to actively planning how quickly I could assemble the necessary ingredients and get myself into the kitchen. Which is a little surprising, given that bread has never been much of a focus of mine where cooking is concerned (eating it, however, now that’s a different story). It’s a reluctance that was probably due in part to a belief that making bread required a variety of specialized equipment, not least of which was a bread-making machine. Yet here before me was a recipe proving that not only was this assumption false, but that bread-making could be achieved with something as basic as an empty coffee can and a pan of boiling water.
In fact, I think it was that coffee can that drew me in initially. I mean it’s hard to deny the romance of cooking in an item otherwise headed for the recycling heap (and that isn’t made of plastic) — it’s as though you’ve stepped into a John Huston western, or Brokeback Mountain or something, and were cooking under an open sky, your horse tied up to a tree. Anyway, that’s where I went with it. And then, this being a recipe for brown bread, I went to how much I love pumpernickel bread, and began to envision myself carving off a thick slice from a loaf made in my very own kitchen, before slathering it with a slab of good butter, and draping it with a few slices of Scottish salmon from the incomparable Russ and Daughters. Except, of course, brown bread and pumpernickel are two different things (very different, as it turns out). But such is the power of the imagination where cooking is concerned!
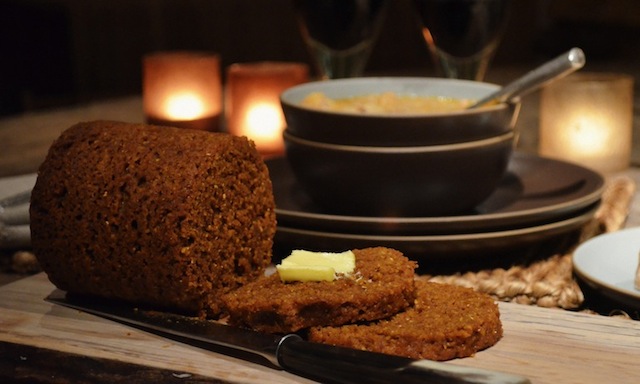
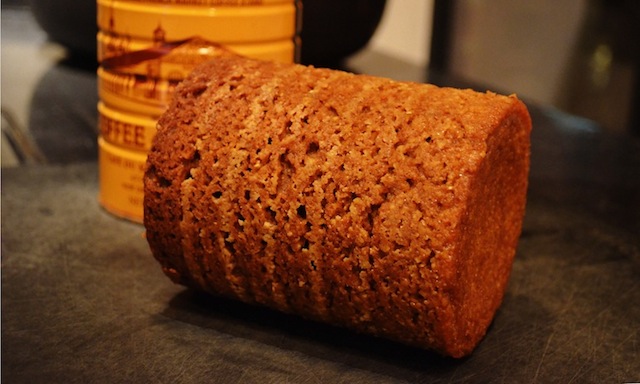
Okay, so scratch the pumpernickel and smoked salmon fantasy — this is not that bread. What it is, though, is a chewy, substantial loaf that has a nice grainy texture (thanks to the presence of the stone-ground cornmeal) and a pleasantly sweet flavor that comes through courtesy of a half-cup of molasses. That comes through with gusto, I should say, because while I happen to be a fan of molasses I know some are less enthusiastic about it. If so, this recipe is not for you. If it is, though, you’ll find that the sweetener also plays a part in another of the recipe’s winning characteristics, namely its moistness. It’s a quality that’s aided by the fact that this bread is not so much baked as it is steamed. Apparently, this was a method of baking that was popular in the mid-19th century and with roots in the Colonial era — in other words, one more avenue of fantasy to propel you into the kitchen! But whatever gets you there, this bread is worth the trip.
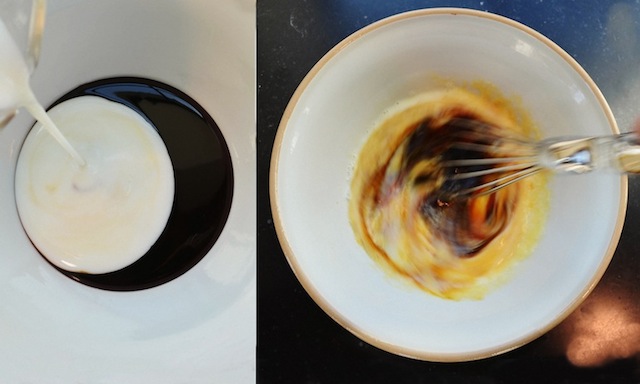
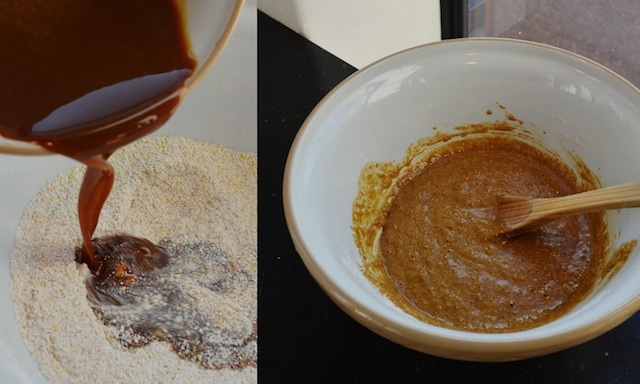
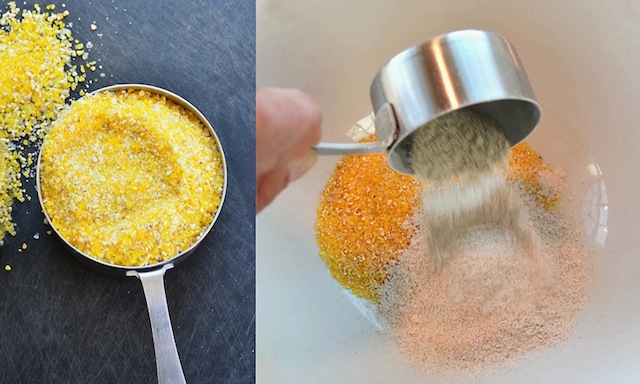
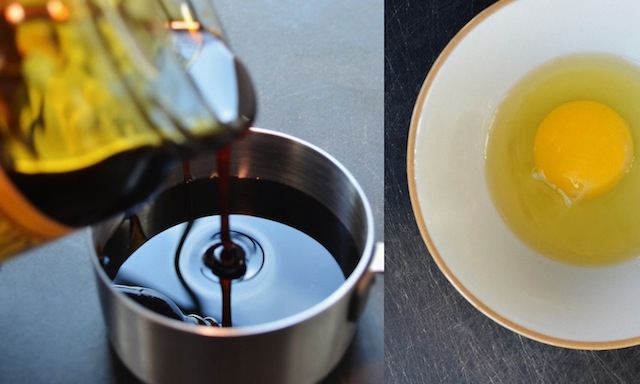
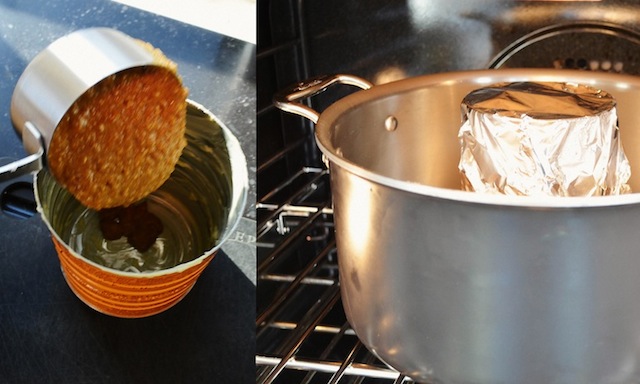
Not that the journey from measuring cup to finished loaf is a particularly arduous one. There’s the mixing of the three types of flour (rye, whole-wheat, and all-purpose — all easily sourced at most markets), along with some stone ground cornmeal, baking soda, and baking powder. To these dry ingredients are added a mixture of one egg, molasses, and buttermilk (which gives the bread a hint of sourness, a good thing in the company of the molasses), all of which is then transferred to a cleaned and buttered coffee tin . . . a “13-oz coffee tin,” in the words of the magazine. I call out this small detail because neither the half-full coffee tin in my freezer, nor any of the ones I spied on my grocery store shelves, were precisely that size (they ranged from 11.5 oz. to 15 oz., with none coming in at an even 13 oz.). Still, if this seems like a minor detail, you’re right. I went with the 15 oz. can I had on hand and the bread worked out just fine. Also, for what it’s worth, the can I used had ridges, which meant that the finished loaf came with handy, evenly spaced indentations, so cutting the perfect slice was all the easier. Hardly a can requirement, but good to know all the same.
In any case, the batter-filled can is covered with foil and placed in a large saucepan, to which is added six cups of water. Once this has been brought to a boil, the whole assembly is moved to a 300 degree oven and allowed to bake until a toothpick or cake tester inserted in the middle comes out clean, which takes somewhere between 2 1/2 and three hours (mine was finished at closer to the 2 1/2 hour mark). Once done, the can is removed from the water, allowed to cool for 20 minutes, and then un-molded. And no, the ridges on my can did not impede the bread’s release from bondage (something I had worried about as I got underway). And that’s all there is to it.
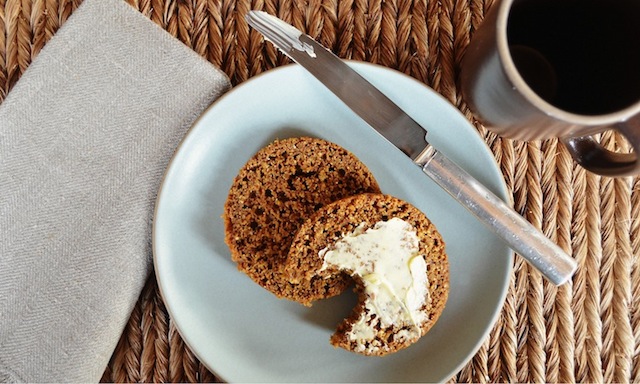
Saveur suggests pairing the bread with baked beans (homemade of course; their recipe is included here), or you can do as I did, and serve it alongside a big bowl of cabbage soup. Either scenario is a good one, though I think my favorite way to enjoy this bread is also the simplest — sliced thick, and smeared with a generous pat of sweet, softened butter. That, and a good cup of coffee, is fantasy enough for me.
Ingredients:
—1/2 cup stone-ground cornmeal
—1/2 cup rye flour
—1/4 cup whole-wheat flour
—1/4 cup all-purpose flour
—1/2 tsp kosher salt
—1/2 tsp baking powder
—1/2 tsp baking soda
—1/2 cup unsulfured molasses
—1/2 cup buttermilk
—1 egg, lightly beaten
—Butter, for greasing and serving
Directions:
—Heat oven to 300 degrees. In a large bowl, whisk together cornmeal, rye, whole-wheat and all-purpose flours, salt, and baking powder and soda; set aside. In another bowl, whisk together molasses, buttermilk, and egg until smooth; pour over dry ingredients, and stir with a spoon until just combined. Transfer to a cleaned and greased 13-oz. metal coffee can, and cover with a piece of foil; place in the center of a 6-quart saucepan. Pour 6 cups water into pot around can, and bring to a boil over high heat. Transfer pan to oven, and bake until a toothpick inserted into the middle of the bread comes out clean, 2½ – 3 hours.
—Remove can from water bath, and let cool for 20 minutes. Uncover and unmold bread from can; let cool completely. Slice into thick rounds and spread with butter.
Serves 6 to 8